About This Blog

Xenophon's Ghost covers military history and wargaming from the ancient period to modern times.

Wednesday, May 9, 2012

Cavalry Gallery

Yesterday, I showed off my completed Macedonian foot elements.  Let's look at the Cavalry and Knight elements.

It would be fitting to start with Alexander the Great himself.  I'll use this element as a 3Kn General.  I preview of the DBA 3.0 draft Army lists show that the Knight elements will be 3Kn, meaning that 3 figures are used.  I had already purchased my figures before seeing the draft list, so I did create one 4 Kn element.  Unless the rules change, I should be able to use elements with either 3 or 4 figures.


The 4KN element used Essex Super Heavy Cavalry figures.  It was a tight squeeze to get four on the base.


I handpainted the Macedonian stars on the mounted element shields.


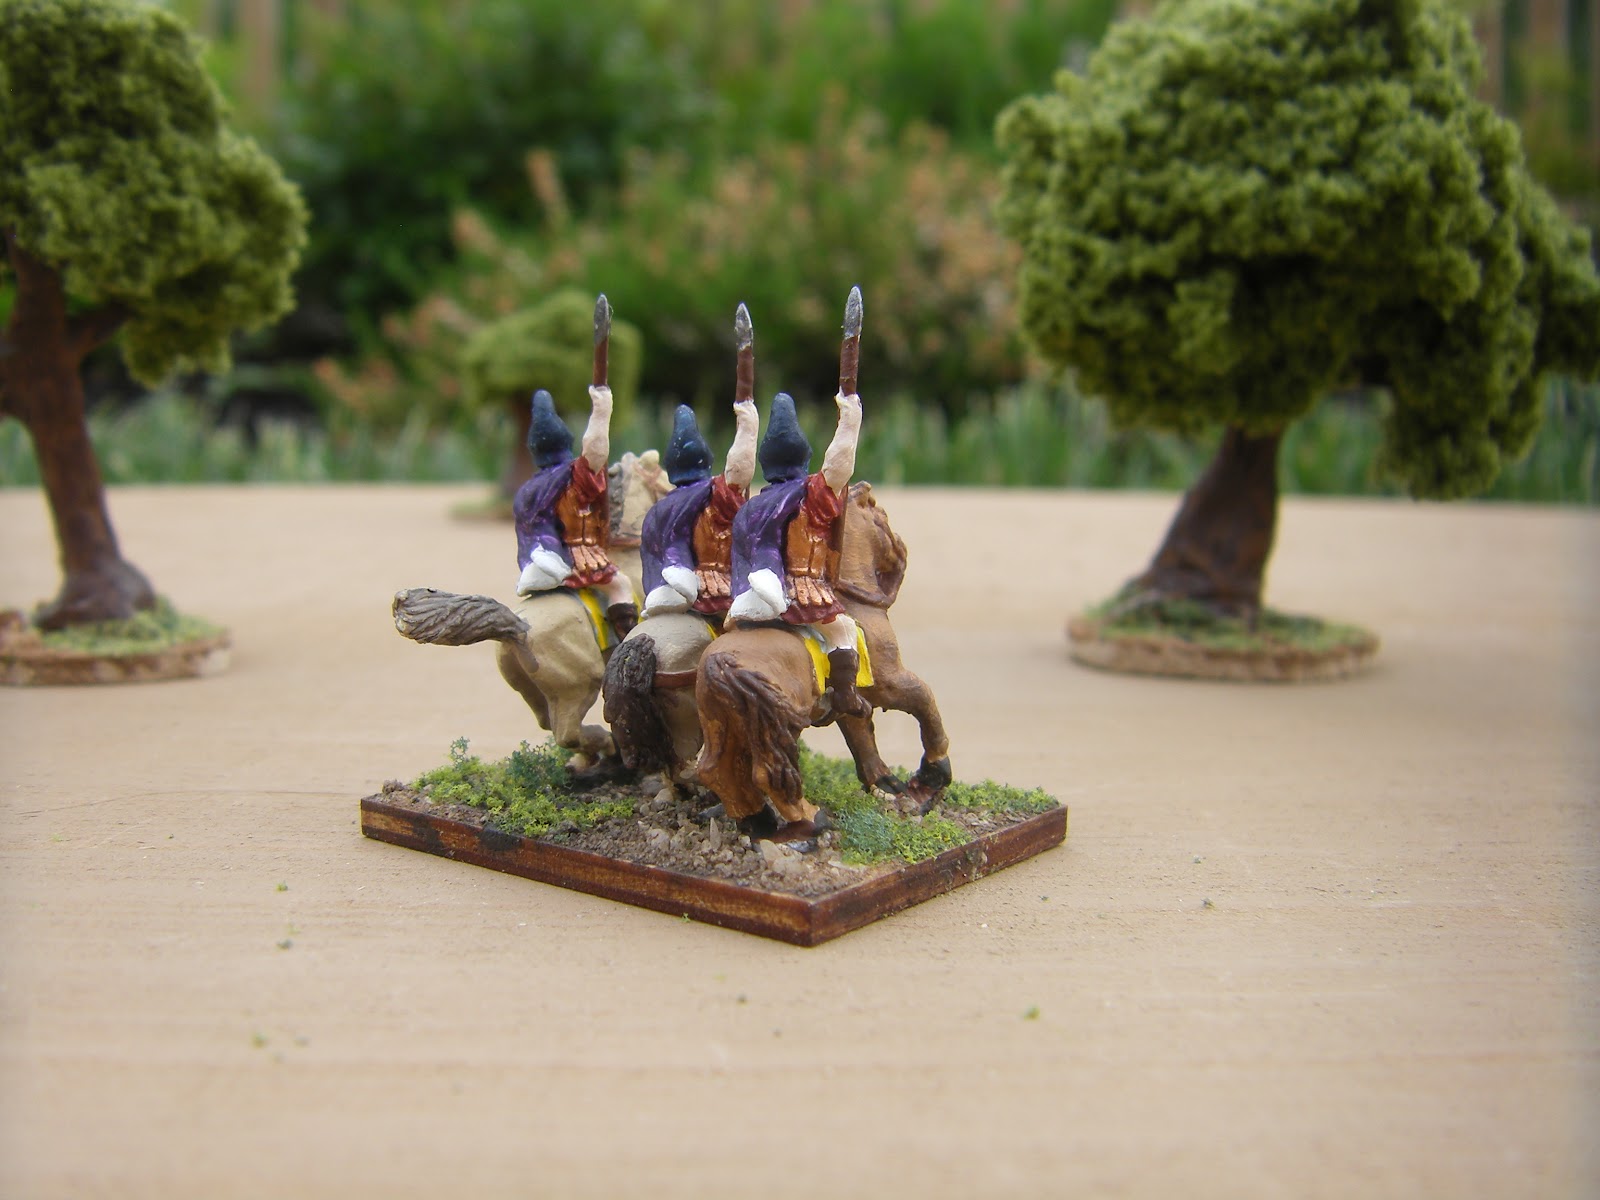
These two Cavalry elements include another General element.  The majority of Hellenistic armies use Cavalry or Knight Generals.


I made one Thessalian cavalry element, painting their cloaks a dark blue with a white band at the bottom. 


Finally, I need some Light Horse - Hippokontistai, so two elements round out the first batch of figures for the Morph collection.


Lessons Learned


Painting

I tried several new painting techniques this time, to include ink washes (covered in an earlier post), shading on horses, and more practice using white primer, instead of black.   I have also continued to differentiate my armies in the basing, using a different paint color and ground cover.

References

A major difference in Ancients figures and more modern eras (such as AWI and Napoleonics) is the lack of primary references on uniform color.  I used Osprey Publishing's "Alexander the Great at War - His Army - His Battle - His Enemies" as the main reference for my painting work.  While this book is comprehensive and appears well researched, there is generally much speculation on the color of clothing and equipment for this period.  I had the opportunity to visit Pompeii in March, and the Mosaic depicting Alexander and Darius is a key source for the period.  However, even this Mosaic was designed many years after the battle -by Romans, or possibly a Greek artist in the employ of Romans. Who is to know the accuracy of the depiction?

I frankly find the ambiguity liberating.  Rather than obsessing over the color of a collar, the Ancients gamers can aim to get the general concept right and not quibble on the minor details.

Pacing

My only regret in this effort was biting off so many different figures all at once.  It was a challenge to stay on track.  I'll work on a smaller number of homogenous figures in the future when I can, so I can achieve some tangible progress quickly.   I recently knocked out the remainder of my Psiloi figures and artillery figures in a week because the project wasn't overwhelming.

Aloha from Waikiki,
Dave


Tuesday, May 8, 2012

Macedonian Gallery

I finished my first batch of 15mm Macedonian/Hellenistic Greek figures for my Hellenestic Morph collection.  The Morph collection, when completed, will allow me to field two Hellenistic DBA armies, ranging from the Alexandrian armies to all of the Successor States.  I will also be able to use elements from my Spartan army to field a few of the Hellenistic Greek armies.

All of the figures are Essex brand.

Let's look at the infantry.


I painted six Pike elements, if I recall these are called "Western Macedonian" pikes by Essex.  I used transfer decals for the Macedonian stars on the shields.  One element was painted as Foot Companions.  The others were painted with red tunics and white linothorax.  If I field an Army with a General Pike element, the foot companions will be a distinctive General element.


For Auxilia, I painted two elements of Peltasts (above) and two elements of Illyrian Javelin (below).


I bought a bunch of Greek slingers for Psiloi, painting up four elements in this first batch. A few Successor States and Hellenistic Greek armies field many Psiloi, I have more to paint, including Scythian slingers for variety.


Finally, Greek mercenaries played a role in many Successor State battles, so I have painted up two elements.  The shields are handpainted.


Tomorrow, I'll post photos of the mounted elements - Cavalry and Knights - and share a few lessons learned from this painting effort.


Saturday, March 10, 2012

BUA Test Run 1

I'm on the road for work, so this is my first posting attempt using an iPad. I'll keep the prose shorter than normal! In order to learn the BUA rules, we played Alexandrian Macedonians against Later Hoplite Thessalians. We combined elements from my Macedonian Morph army and Spartans to form the forces.

The Thessallians defended, using a Built-Up Area (BUA) instead of a camp. The Macedonian attackers deployed near the BUA, placing three elements in contact with the BUA. (I welcome feedback on this deployment. I did not find a rule precluding contact with the BUA from the onset of the game.) The Thessalians used a spear element to defend the area.

The dice clearly favored the Thessalians throughout the game. The Greeks rolled 6 PIPs and advanced, moving several mounted units along its right flank to relieve the BUA. In the first round of close combat, the Macedonians attacked the BUA to no good effect. Two elements recoiled. One Spear remained in contact due to a tie.

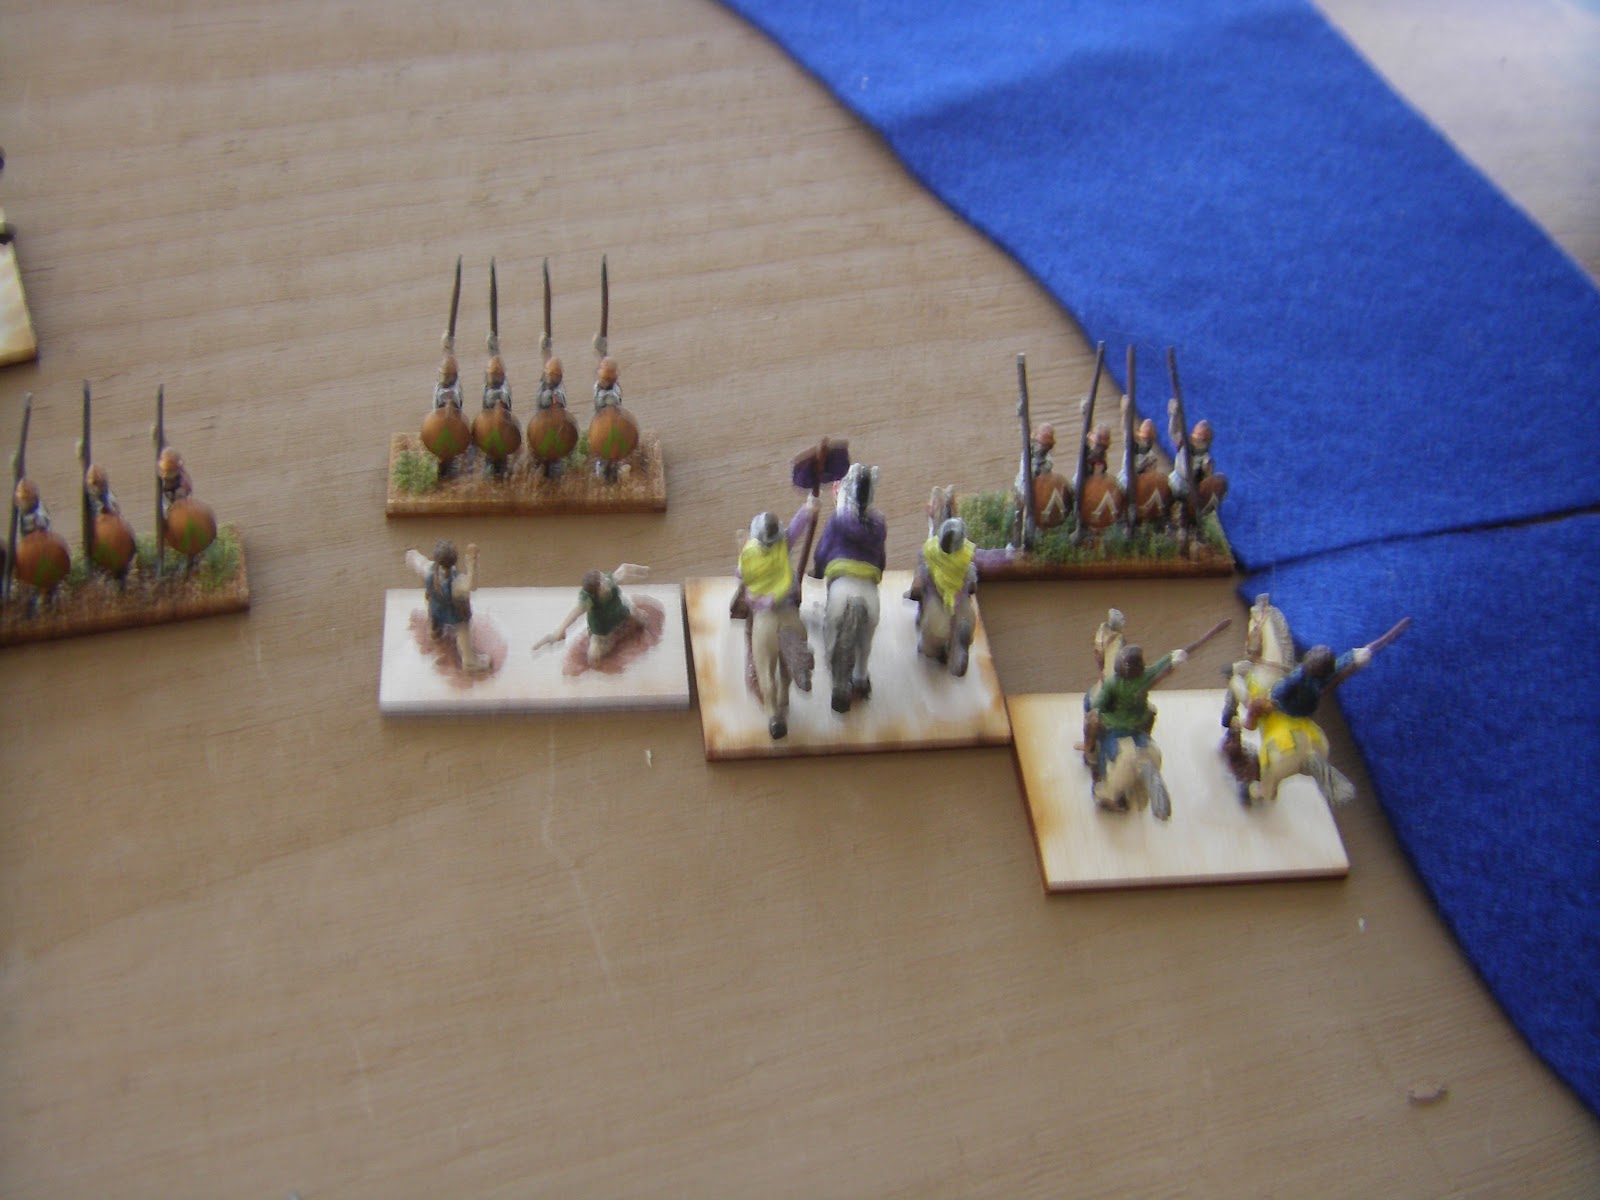
In the second round, Thessalians again rolled 6 PIPs and moved elements forward. The Macedonians rolled a one, moving the Knight General back in contact with the BUA. The attacking Spear lost and recoiled. Disaster soon struck. The General rolled a 1, adding 4. The defending Spear rolled a 3, adding 8 and killing the General. This was a tough lesson to learn...be careful of risking a General against a defended BUA...The assault was abandoned.

General melee followed, with the Pikes and Spears clashing. A Thessalian LH supported the Spear, flanking the Pike formation and destroying the front rank. This caused a bit of a rules scramble to confirm that the rear support was not destroyed in DBA 3.0: it is not.

Because of the flank contact, the Pike that had provided rear support turned to face the Light Horse in the next bound. (I welcome feedback whether this was the correct move to make.)

The Macedonian Pike destroyed one Spear in the line.

The game ended in the next bound when light troops on the flank engaged. A Thessalian auxilia rolled a 6 (+2), destroying a Cav unit that rolled a 1 (+3).

This was a fun bout. I plan to try out BUA battles again with the latest version of the draft rules.

Monday, February 20, 2012

Macedonians Face Athenians

Macedonian Peltasts and Phalangites prepare to advance 
Ryan and I playtested the DBA 3.0 rules, using my newly painted Macedonians.  The paint is dry, but the bases are not finished.  By combining elements with my Spartan army, we were able to field Alexandrian Macedonians (II/12) and Athenian Hoplites (II/5b) in the first game.  We wanted to learn the BUA and littoral landing rules.  Since these were test games, Ryan played defender so we could use a waterway, and we decided to place the BUA on his side of the board.  As a result, the BUA never came into play.

Initial deployment with three Athenian spears in reserve
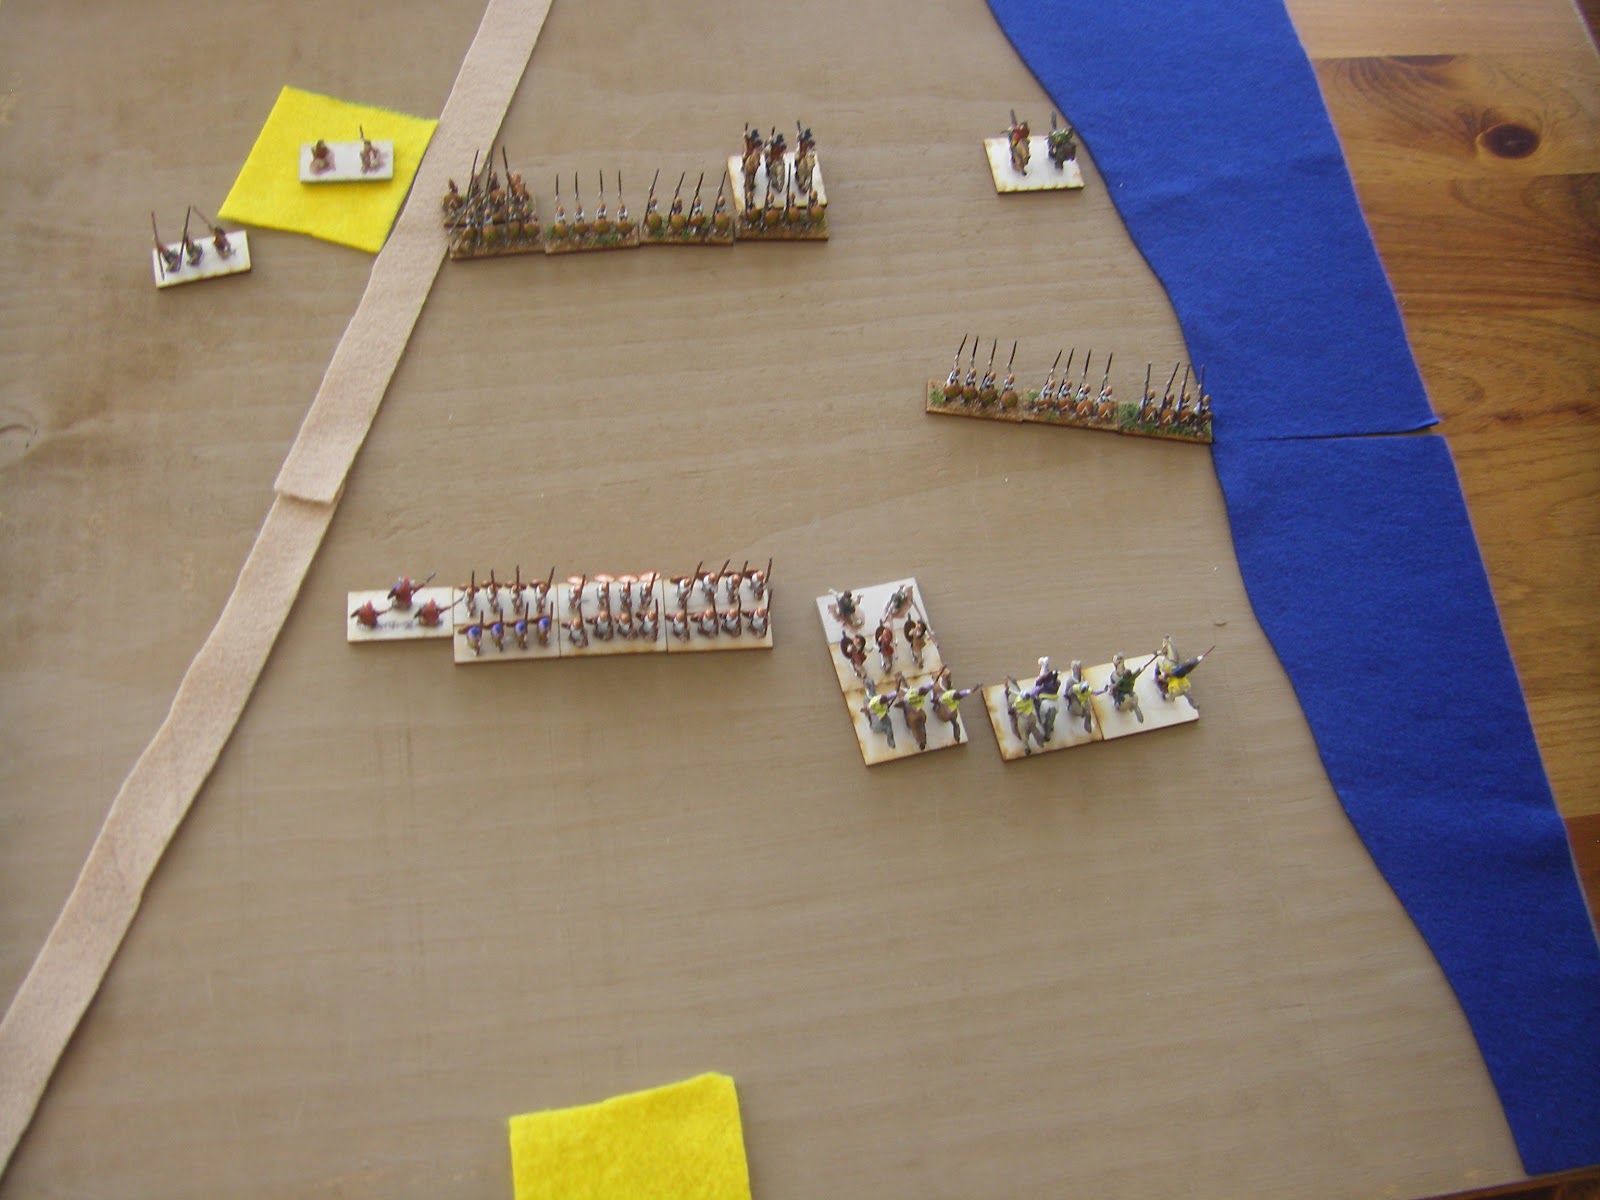
Ryan deployed a Psiloi in the BUA and held three Athenian spear in reserve for a littoral landing.  He placed Light Horse and Auxilia on the right and left flanks respectively.  The rest of his spear line and a troop of Thessalian cavalry formed the main force.

I deployed the Macedonian Pikes in a two deep formation, flanked by the Knight General and Auxilia.  Expecting Ryan to land deep into my area,  I placed light troops and cavalry on the right to cover the flank.

On the first bound, Ryan rolled a "1", so he could only land his spear.  He played it conservatively.   The flank side of one element of the group is in contact with the waterway per the rules.


Rolling a five on the first bound, the Macedonians advanced forward.  I shifted the Knight General to the right and formed it into a group with the Light Horse, planning to attack the three Spear forward.


In the second bound, the first combat occurred when the Macedonian Knight and LH advanced, joined by a Psiloi.  I would have preferred to use a stronger element than the Psiloi, but the force positions wouldn't allow it.  Ryan continued to advance his main Spear line, aiming to reinforce the landing party.


The Knight General prevailed, quick killing the middle spear.  However, the other two melees resulted in recoils.  With other Spear to the right of the Psiloi, I started worrying that my General might end up in trouble.


Ryan flanked the Psiloi and used other PIPs to begin moving his mounted forces to the left, intending to flank the main Pike phalanx.

The Psiloi was destroyed in this matchup.


To prevent a flanking of my General, I moved an Auxilia forward in my next bound. The Spear turned and faced it.  The dice favored the Athenians, and the Auxilia were destroyed. 


The game culminated in a flanking of a Spear and the main phalanx engaging. 

The Knight General  and the Companion Cavalry engaged a spear element, with the Spear turning to face the Knight.  The Macedonians won this match-up, making the game tied at 2-2.

Pikes with rear support are very strong.  While the first Pike-Spear melee resulted in the Athenians recoiling, the Macedonians won the next two melee, ending the game.


After Action Review

We intended to use this game to learn the BUA rules, but we never got that far.  This was our first game played with Pike miniatures.  When we first tried out DBA, we fought a few games with paper armies that included the Imperial Macedonians using DBA version 2.2.  I must say that Pikes are impressive.  Ryan and I discussed what type of tactics you would need to use in a Pike -Spear match-up like this.  Duking it out with the main force wasn't a good plan for the Athenians.  Between the Pikes and the Knight General element, the Macedonians are very strong against a spear-heavy foe.

The littoral landing rule works fine, and it adds interest to the game.  If Ryan had more PIPs in the first bound, I suspect that he would have been more aggressive.  He never got his cavalry or light horse engaged in the game which could have made a difference.  Similarly, a Psiloi and Auxilia element were deployed primarily to protect the BUA, so the Athenian's fighting force was weakened.

 We tested out the BUA rules in a second game - Alexandrian Macedonians vs. Thessalian Hoplites (II/5d) which I'll describe in my next post.  We had so many questions about the BUA rules that we ended the game early...

Sunday, February 19, 2012

Painting Pikes

As noted in my last post, I am just finishing up a batch of Macedonians for a Hellenistic Morph army.  I have been painting miniatures off and on for three years now, and I try different techniques each time.

I decided to try using white primer this time and test a few other techniques.  I have used black primer for the majority of my figures.  For one group of American War of Independence figures, I tried white primer, but I found that white doesn't hide missed spots well like black does.  However, ancient figures use brighter colors, so I decided to give white primer a go.  This would set off my Macedonians from my other DBA armies.

Overall, I am pleased with the look, but I still missed spots at the seams of colors.  I need to be a bit more sloppy next time on the initial colors used.

I also decided to try my hand at an ink wash.  I haven't used washes much since black primer provides a dark undercoat.  I frankly hate the idea of brushing a wash on newly painted minis since I have had some bad luck with the technique in the past.  With white primer, I needed to add shading effectively, particulary for the white linen armor of the Phalangites.

Checking out several websites, I found examples of painters using Higgins brand black ink without dilution as well as several different dilution methods.  I experimented with four figures using different dilution levels:
Wash of undiluted Higgins Ink
This poor Pikemen was an undiluted and unmitigated disaster.  I am happy to report that I touched him up, and he looks okay now.  Undiluted ink is not a good choice....

I then tried three dilution approaches. From right to left, I used,
  • 50% ink/50% water
  • 50% ink/30% water/20% alcohol
  • 30% ink/50% water/20% alcohol
Ink washes with progressive dilution


These pikemen, too, needed some clean-up work.  I'm glad that I tested out the dilution levels on single figures instead of rushing forward.

I decided to stick with the weakest solution and use a lighter touch on the brush.  I mainly aimed to improve the contrast of the pteruges on the linothorax.  A sample is shown below,

Phalangites painted with a 50% Water/30% Ink/20% Alcohol wash

I'll share photos of the based figures in future posts.

Alexander the Morph

As a newcomer to ancients wargaming using DBA rules, one encouraging aspect is the ability to use the same figures to form different armies, known as "morphing."  You cannot easily morph more modern figures from one army to the next, much less over a time period of a century or more.  Napoleonic figures don't serve well in a WW I game, for instance.  Morphing does requires some artistic license and a more liberal approach; however, I'm comfortable with the trade-off.

I started buying figures for DBA when a major website was running a 50% off sale of 15mm figures made by Essex.  I bought three DBA pre-assembled armies - Early Spartans, Galatians, and Kappadokians.

I decided to look for a Morph army as a next step.  Checking out the www.fanaticus.org website, I found several examples, noting that Hellenistic Armies, starting with the early Macedonian army and including Hellenistic Greeks and Successor States, offered a tremendous range of options with the same group of figures. Plus, the sale allowed me to procure many of the miniatures needed for the Hellenistic Morph Army at a great price.
 
Using the draft DBA 3.0 Army lists in the DBA Yahoo group, I developed a spreadsheet listing the figures needed to develop a morph army that would cover 38 different Armies at varying levels of accuracy.  The spreadsheet is available in the DBA Yahoog group files site.  I'm holding my breath in hopes that the final lists don't change much!

I purchased enough Phalangites, cavalry, slingers, and a variety of auxilia infantry to create the core of two Hellenistic Armies, so I can later battle two successor states against each other.

First Batch Complete

I'm finishing the first batch of figures up now, which includes the following elements:

6 Western Phalangites (Pk)
4 Thracian Slingers (Ps)
2 Illyrian Javelinmen (Ax)
2 Peltasts (Ax)
1 Thessalian Cavalry (Cv)
1 Alexander General Knight Element (3Kn) (pictured above)
1 Alexander General Cavalry (Cv)
1 Super Heavy Cavalry (4Kn)
2 Hippokontistai (LH)
2 Allied Greek Spear element (Sp)

With this group, I can field II/12 Alexandrian Macedonian, 16b Demetrios, 16c Alketas, 17a and17b/Lysamachid, 18c Kassandros, and several Hellenistic Greek armies, so my play options have increased significantly!  I still need to complete a few elements to allow me to field all options for some of these armies.

For Want of an Elephant

Battle of Gaugemela from a tapestry
http://commons.wikimedia.org/wiki/File:Battle_of_Gaugamela_(Arbela).PNG
The critical path for fielding more Armies in the Morph list is a lack of Elephants.  I'll order some soon.  I need to decide on a number to paint.  Eighteen armies field one Elephant; three armies field two of the beasts.  I need to check the enemies listings to determine if I will want to purchase 2, 3, or 4 miniature behemoths.

I also plan on scratchbuilding bolt-shooter Artillery pieces (oxybeles).

Tuesday, February 7, 2012

Expedition to New Lands

Ryan and I had the pleasure of testing out the latest version of DBA, posted on 2 February, with two veteran gamers - Doug and Peter.  Doug hosted us.  His understanding of the rules and playing experience were a big help, clarifying several unclear game mechanics.  Peter also offered a number of recommendations on play tactics that improved our understanding of battle management. We also had the chance to drool over his 30 year plus investment in miniatures - quite a collection of Armies!

Spartans vs. Early Imperial Romans

Ryan played Doug in a Spears vs Blades slug fest.  It was a close game, but the Spartans prevailed thanks to luck on the die and the resilience of Spears against Auxilia.

The Spartans defended, using hills to protect the flanks and the camp.  The deployment resulted in a bunched up force.  However, the units in the rear were ready to counter flanking attacks.

The Romans deployed a combined arms force, placing Auxilia and Light Horse on the wings.  Cavalry deployed in the center with the Legionnaires.  A horse-drawn ballista was also fielded; our first encounter as DBA newbies with any shooting force.


Ryan advanced his Spartans forward of the hills in order to deploy in line.  This placed two spear elements in artillery range, but Spartan dice luck prevailed.  Only one or two artillery shots find its mark throughout the game.


Most of the action centered on the flanks.  Doug moved two Auxilia on the Spartan right flank toward the camp.  Auxilia and Light Horse also threatened the Spartan left flank.


Fortunately, a number of high PIP rolls allows Ryan to maneuver his reserve to confront the detachments.


The Spartans managed to chase off the Light Horse and destroy one Auxilia element on the left.  On the right, the outcome was long in question.  One Roman Auxilia attacked the camp, destroying the camp followers.  Another Auxilia faced Spartan elements trying to move uphill.

A key rules question emerged at this point - does the Auxilia automatically advance into a camp once the camp followers are destroyed?  We interpreted the following rule...

".... or a camp whose defenders have been destroyed, can be occupied without combat by moving a troop element into it."

...to mean that the Romans would need to expend another PIP to move the Auxilia into the camp.  This delay gave the Spartans time to confront the Auxilia element. After several bounds, the Auxilia was pushed off the board in a recoil.

The Spartan Spears trying to attack uphill were eventually destroyed by Auxilia, right before the Blades and Spear lines clashed.  After a few bounds of to-and-fro recoiling, the Spears finally destroyed two more Roman elements, including at least one Blade, to win the game, 4-to-3.


Feudal Fuss - French vs. 100 Year War English

I played a second game against Doug, that ended quickly. We fought two 15mm armies featuring bows and Knights.  Doug played the English, dismounting some knights, including the General, at the beginning of the game.

My French were defending, and I deployed three Knights on the Right Wing with a Cavalry element on the Far Right.  My Blades and Bowmen were deployed in a line, with a number of elements in Woods.

I quickly learned why a conservative deployment and patience is needed as a defender.  English bow faced off my Knights and Cavalry.  English Knights formed a reserve.  I rolled three PIPs for the first bound, limiting my options to deploy my blades and bows, stuck in the Woods, without losing the form of the line.  We had a friendly chat on my options.  With mounted forces, I had the opportunity to charge in, limiting the shots taken by Bow.  Unlike the Spartan defensive line in the first night, I didn't need to be a static target for long range artillery shots.  I opted to be aggressive, moving the mounted forces forward.  Doug adjusted his force deployment to prepare for battle and ensure the Cavalry did not turn his flank.

In my second bound, the Knights and Cavalry charged the Bow line, with the three Knights aligned with the Bow.  The Cavalry element provided an overlap.  The die didn't favor me, and my one successful combat resulted in my rash General pursuing the destroyed Bow, resulting in overlap and isolation.

In Doug's second bound, it was all over.  He flanked my General Knight, destroying it and two other mounted troops with his Bow, winning 4-to-1.
Post Mortem - Fuedal French Gen Kn, Kn, and Cav destroyed.
After Action  Review

I was happy to see that Ryan and I have a general grasp on the rules. After the game, I spent time comparing the last two beta versions of DBA 3.0 and the playing results.  Questions from the playtest:
  • We may not have played the distant shooting combat correctly.  I don't recall that the English bow fired at the French Knights during the French turn.  If so, this was an omission on our part, not a problem with the rules.
  • We were unsure of the camp occupation rule when camp followers were destroyed, as described above.
  • Doug explained the meaning of the second sentence in the Moving into Contact With Enemy section (pg 9) to us, which reads, "Only a group can move into edge contact with a single element's or group's corner." Without his explanation, I was at a loss as to the necessity of this rule.  Why couldn't a single element contact a corner, I wondered.  Recommend review of this section for improved clarity.
  • In my post-game review, I have noticed several other points in the latest version that could benefit from re-ordering. Rules that have dependencies are explained in different sections.  I won't belabor these points in the blog, but I may recommend changes in the Yahoo Group discussion.
I recommend the following rules changes:
  • Allow positioning of terrain up to the battlefield edge.  As noted in previous playtests, the rule requiring terrain placement at least 1 BW from the edge further constricts the deployment area.  This affected both of our games.  I think the deployment restriction that encourages use of the flanks for light force deployments is helpful and historically accurate.  The requirement to leave a 1BW open area along the edge is not.  Any commander worth their salt would seek out terrain that made encirclement more difficult and allowed easy movement in the center of the battlefield.
  • As a new player, I found it odd that groups can move to form a column using a single PIP but not move from a column to a line with a single PIP.  I thought I had missed a rule somewhere. Doug and Peter confirmed that moving from column to another formation requires multiple PIPs.  I recommend a formation change rule be added to address this oddity unless the rationale relates to the difficulty of commanding and controlling troops in this era. I haven't read any cases where armies were slow to deploy into line in Greek or Macedonian battles at least.
  • Reintroduce Psiloi rear support, but limit the support to the element directly in front of the Psiloi.  I certainly would have deployed my Feudal French Psiloi as support if this had been an option.  I question the idea that slingers or bowmen could support a line three elements wide in one bound, but, if I were a Psiloi behind infantry in melee with the opponent, I would be lobbing stones or arrows into the bad guys.
I must thank Doug and Peter.  It was great to meet fellow wargamers for the first time.  They were gracious and patient hosts.

Cheers,
Dave