Ryan and I had the pleasure of testing out the latest version of DBA, posted on 2 February, with two veteran gamers - Doug and Peter. Doug hosted us. His understanding of the rules and playing experience were a big help, clarifying several unclear game mechanics. Peter also offered a number of recommendations on play tactics that improved our understanding of battle management. We also had the chance to drool over his 30 year plus investment in miniatures - quite a collection of Armies!
Spartans vs. Early Imperial Romans
Ryan played Doug in a Spears vs Blades slug fest. It was a close game, but the Spartans prevailed thanks to luck on the die and the resilience of Spears against Auxilia.
The Spartans defended, using hills to protect the flanks and the camp. The deployment resulted in a bunched up force. However, the units in the rear were ready to counter flanking attacks.
The Romans deployed a combined arms force, placing Auxilia and Light Horse on the wings. Cavalry deployed in the center with the Legionnaires. A horse-drawn ballista was also fielded; our first encounter as DBA newbies with any shooting force.
Ryan advanced his Spartans forward of the hills in order to deploy in line. This placed two spear elements in artillery range, but Spartan dice luck prevailed. Only one or two artillery shots find its mark throughout the game.
Most of the action centered on the flanks. Doug moved two Auxilia on the Spartan right flank toward the camp. Auxilia and Light Horse also threatened the Spartan left flank.
Fortunately, a number of high PIP rolls allows Ryan to maneuver his reserve to confront the detachments.
The Spartans managed to chase off the Light Horse and destroy one Auxilia element on the left. On the right, the outcome was long in question. One Roman Auxilia attacked the camp, destroying the camp followers. Another Auxilia faced Spartan elements trying to move uphill.
A key rules question emerged at this point - does the Auxilia automatically advance into a camp once the camp followers are destroyed? We interpreted the following rule...
".... or a camp whose defenders have been destroyed, can be occupied without combat by moving a troop element into it."
...to mean that the Romans would need to expend another PIP to move the Auxilia into the camp. This delay gave the Spartans time to confront the Auxilia element. After several bounds, the Auxilia was pushed off the board in a recoil.
The Spartan Spears trying to attack uphill were eventually destroyed by Auxilia, right before the Blades and Spear lines clashed. After a few bounds of to-and-fro recoiling, the Spears finally destroyed two more Roman elements, including at least one Blade, to win the game, 4-to-3.
Feudal Fuss - French vs. 100 Year War English
I played a second game against Doug, that ended quickly. We fought two 15mm armies featuring bows and Knights. Doug played the English, dismounting some knights, including the General, at the beginning of the game.
My French were defending, and I deployed three Knights on the Right Wing with a Cavalry element on the Far Right. My Blades and Bowmen were deployed in a line, with a number of elements in Woods.
I quickly learned why a conservative deployment and patience is needed as a defender. English bow faced off my Knights and Cavalry. English Knights formed a reserve. I rolled three PIPs for the first bound, limiting my options to deploy my blades and bows, stuck in the Woods, without losing the form of the line. We had a friendly chat on my options. With mounted forces, I had the opportunity to charge in, limiting the shots taken by Bow. Unlike the Spartan defensive line in the first night, I didn't need to be a static target for long range artillery shots. I opted to be aggressive, moving the mounted forces forward. Doug adjusted his force deployment to prepare for battle and ensure the Cavalry did not turn his flank.
In my second bound, the Knights and Cavalry charged the Bow line, with the three Knights aligned with the Bow. The Cavalry element provided an overlap. The die didn't favor me, and my one successful combat resulted in my rash General pursuing the destroyed Bow, resulting in overlap and isolation.
In Doug's second bound, it was all over. He flanked my General Knight, destroying it and two other mounted troops with his Bow, winning 4-to-1.
 |
| Post Mortem - Fuedal French Gen Kn, Kn, and Cav destroyed. |
After Action Review
I was happy to see that Ryan and I have a general grasp on the rules. After the game, I spent time comparing the last two beta versions of DBA 3.0 and the playing results. Questions from the playtest:
- We may not have played the distant shooting combat correctly. I don't recall that the English bow fired at the French Knights during the French turn. If so, this was an omission on our part, not a problem with the rules.
- We were unsure of the camp occupation rule when camp followers were destroyed, as described above.
- Doug explained the meaning of the second sentence in the Moving into Contact With Enemy section (pg 9) to us, which reads, "Only a group can move into edge contact with a single element's or group's corner." Without his explanation, I was at a loss as to the necessity of this rule. Why couldn't a single element contact a corner, I wondered. Recommend review of this section for improved clarity.
- In my post-game review, I have noticed several other points in the latest version that could benefit from re-ordering. Rules that have dependencies are explained in different sections. I won't belabor these points in the blog, but I may recommend changes in the Yahoo Group discussion.
I recommend the following rules changes:
- Allow positioning of terrain up to the battlefield edge. As noted in previous playtests, the rule requiring terrain placement at least 1 BW from the edge further constricts the deployment area. This affected both of our games. I think the deployment restriction that encourages use of the flanks for light force deployments is helpful and historically accurate. The requirement to leave a 1BW open area along the edge is not. Any commander worth their salt would seek out terrain that made encirclement more difficult and allowed easy movement in the center of the battlefield.
- As a new player, I found it odd that groups can move to form a column using a single PIP but not move from a column to a line with a single PIP. I thought I had missed a rule somewhere. Doug and Peter confirmed that moving from column to another formation requires multiple PIPs. I recommend a formation change rule be added to address this oddity unless the rationale relates to the difficulty of commanding and controlling troops in this era. I haven't read any cases where armies were slow to deploy into line in Greek or Macedonian battles at least.
- Reintroduce Psiloi rear support, but limit the support to the element directly in front of the Psiloi. I certainly would have deployed my Feudal French Psiloi as support if this had been an option. I question the idea that slingers or bowmen could support a line three elements wide in one bound, but, if I were a Psiloi behind infantry in melee with the opponent, I would be lobbing stones or arrows into the bad guys.
I must thank Doug and Peter. It was great to meet fellow wargamers for the first time. They were gracious and patient hosts.
Cheers,
Dave


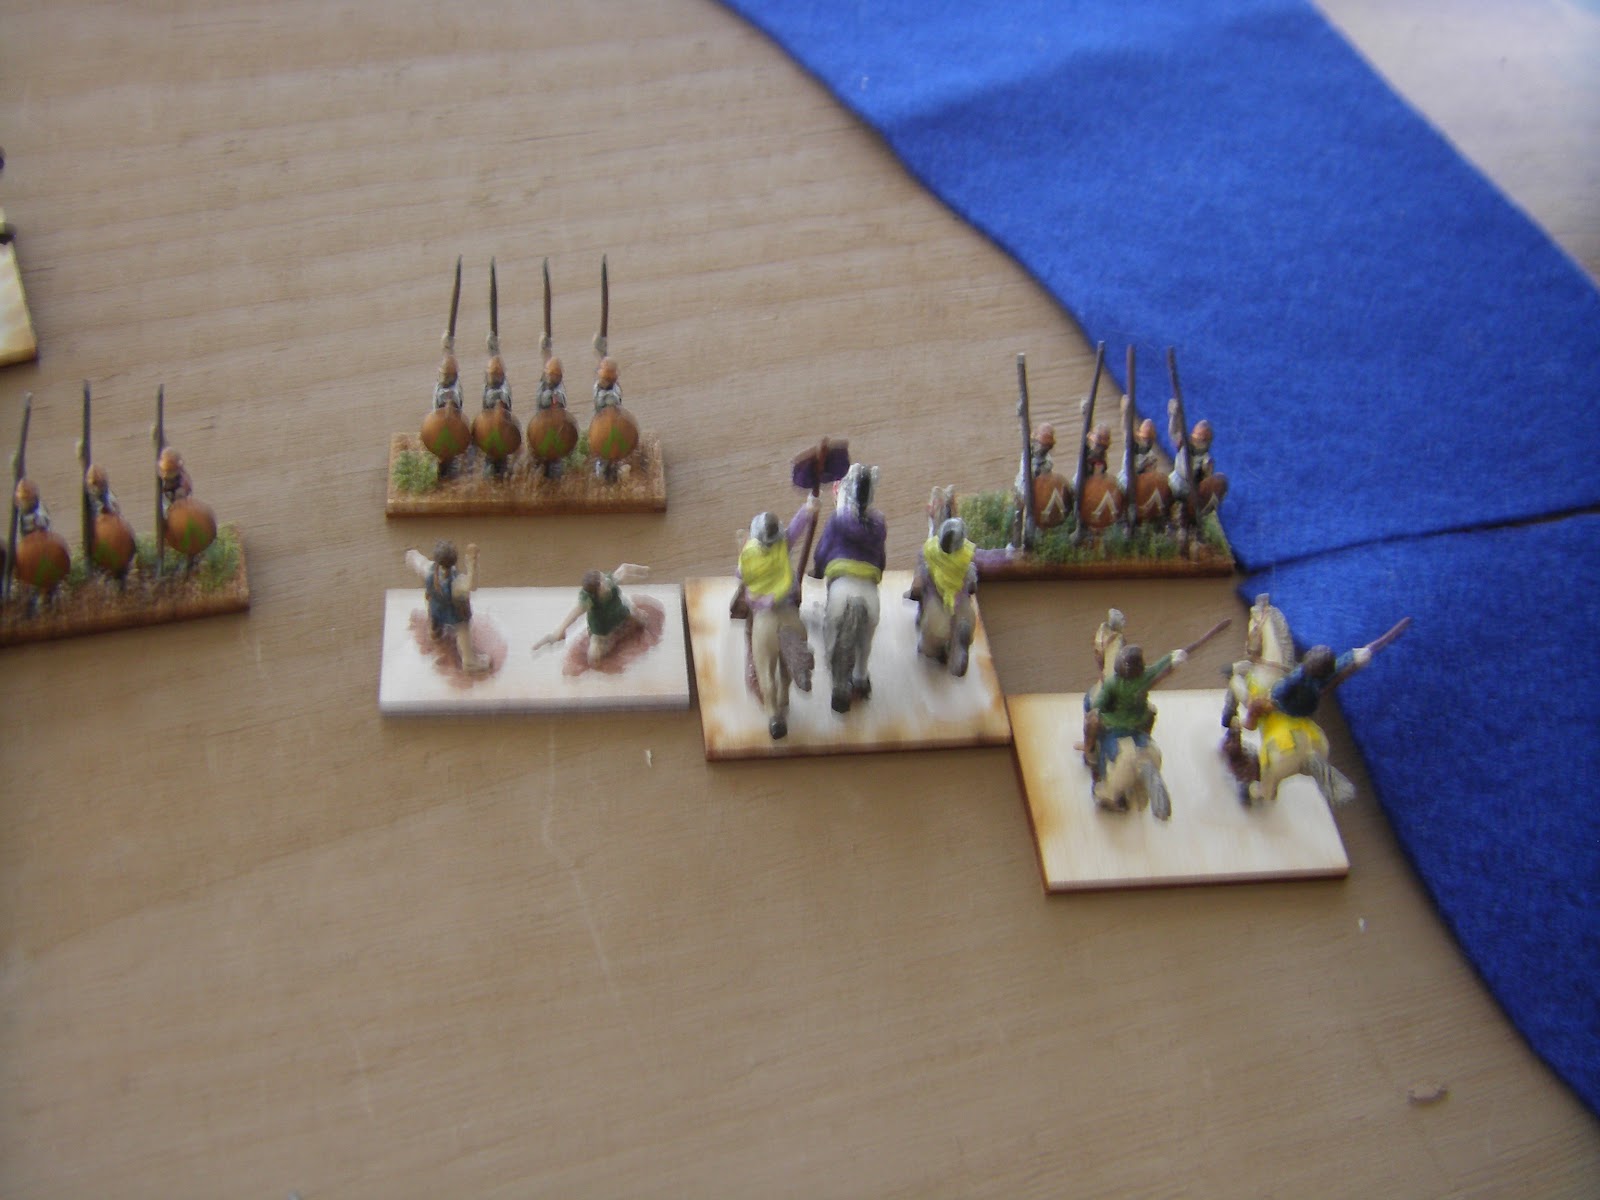
 On the first bound, Ryan rolled a "1", so he could only land his spear. He played it conservatively. The flank side of one element of the group is in contact with the waterway per the rules.
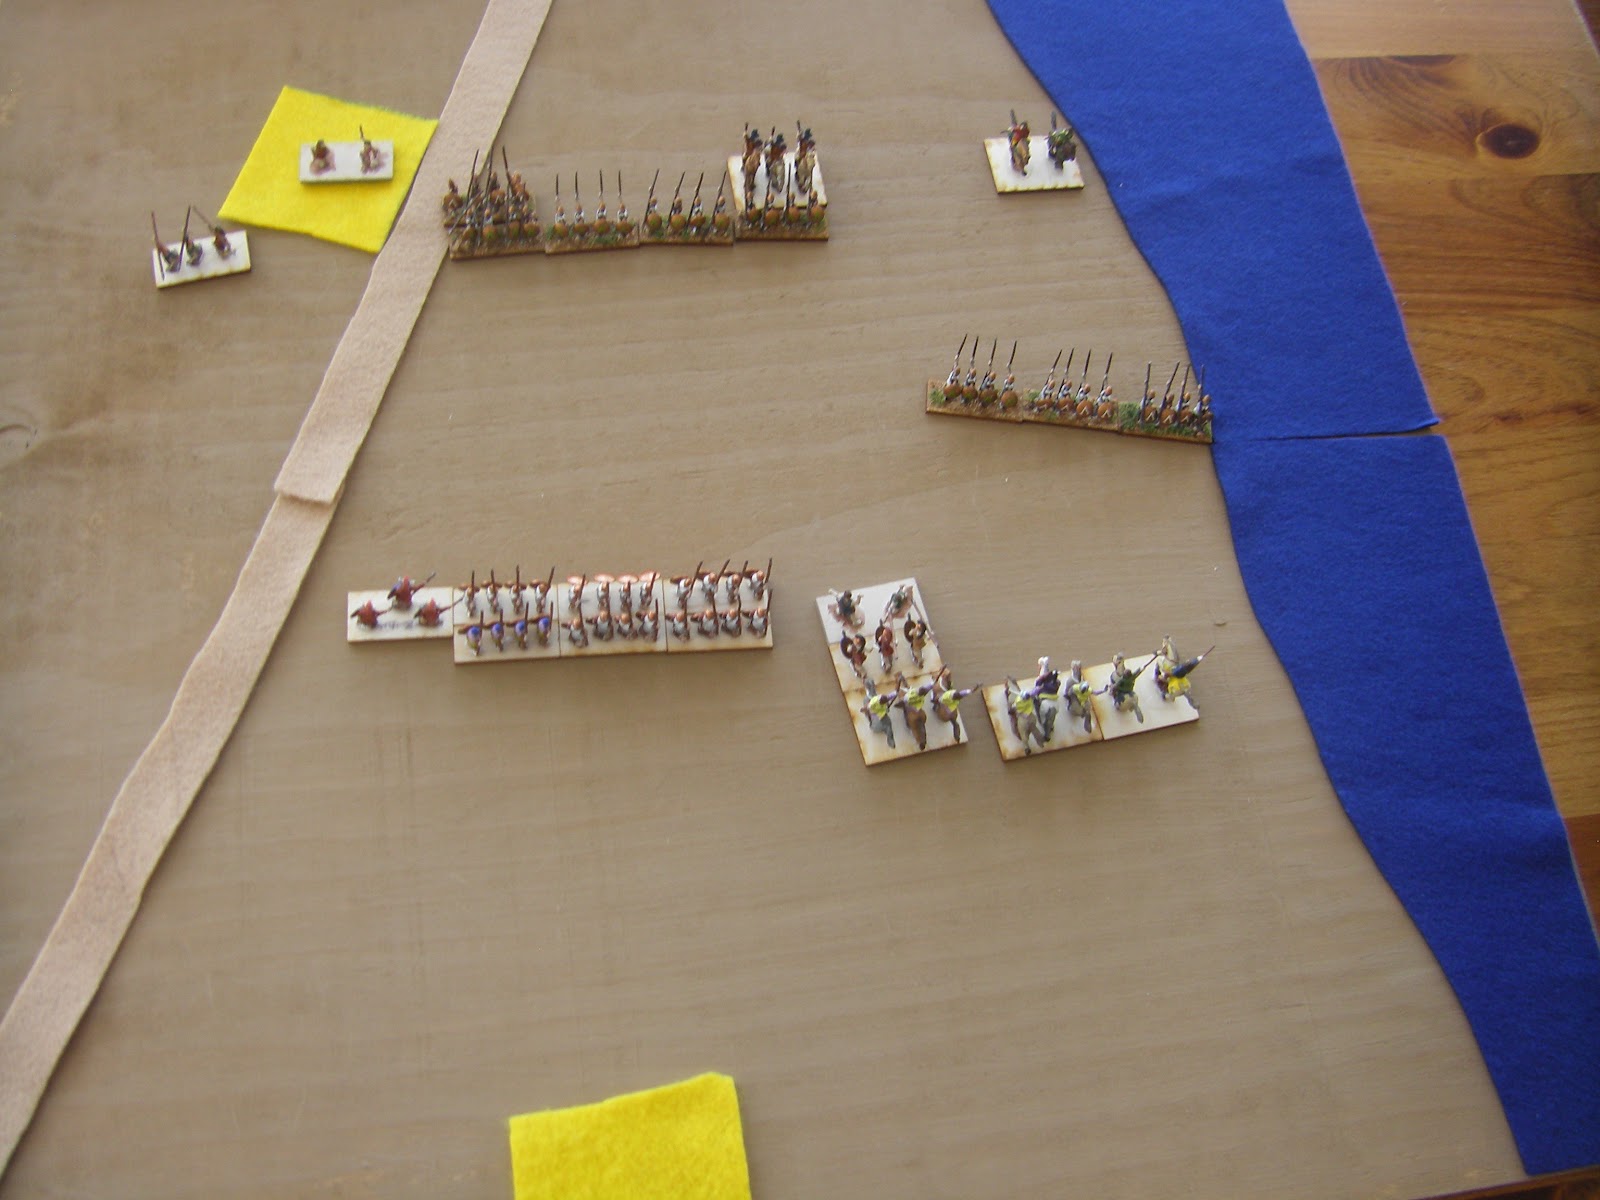 Rolling a five on the first bound, the Macedonians advanced forward. I shifted the Knight General to the right and formed it into a group with the Light Horse, planning to attack the three Spear forward.
 Ryan flanked the Psiloi and used other PIPs to begin moving his mounted forces to the left, intending to flank the main Pike phalanx.
 To prevent a flanking of my General, I moved an Auxilia forward in my next bound. The Spear turned and faced it. The dice favored the Athenians, and the Auxilia were destroyed.
  The Knight General and the Companion Cavalry engaged a spear element, with the Spear turning to face the Knight. The Macedonians won this match-up, making the game tied at 2-2.


.png)


.PNG)